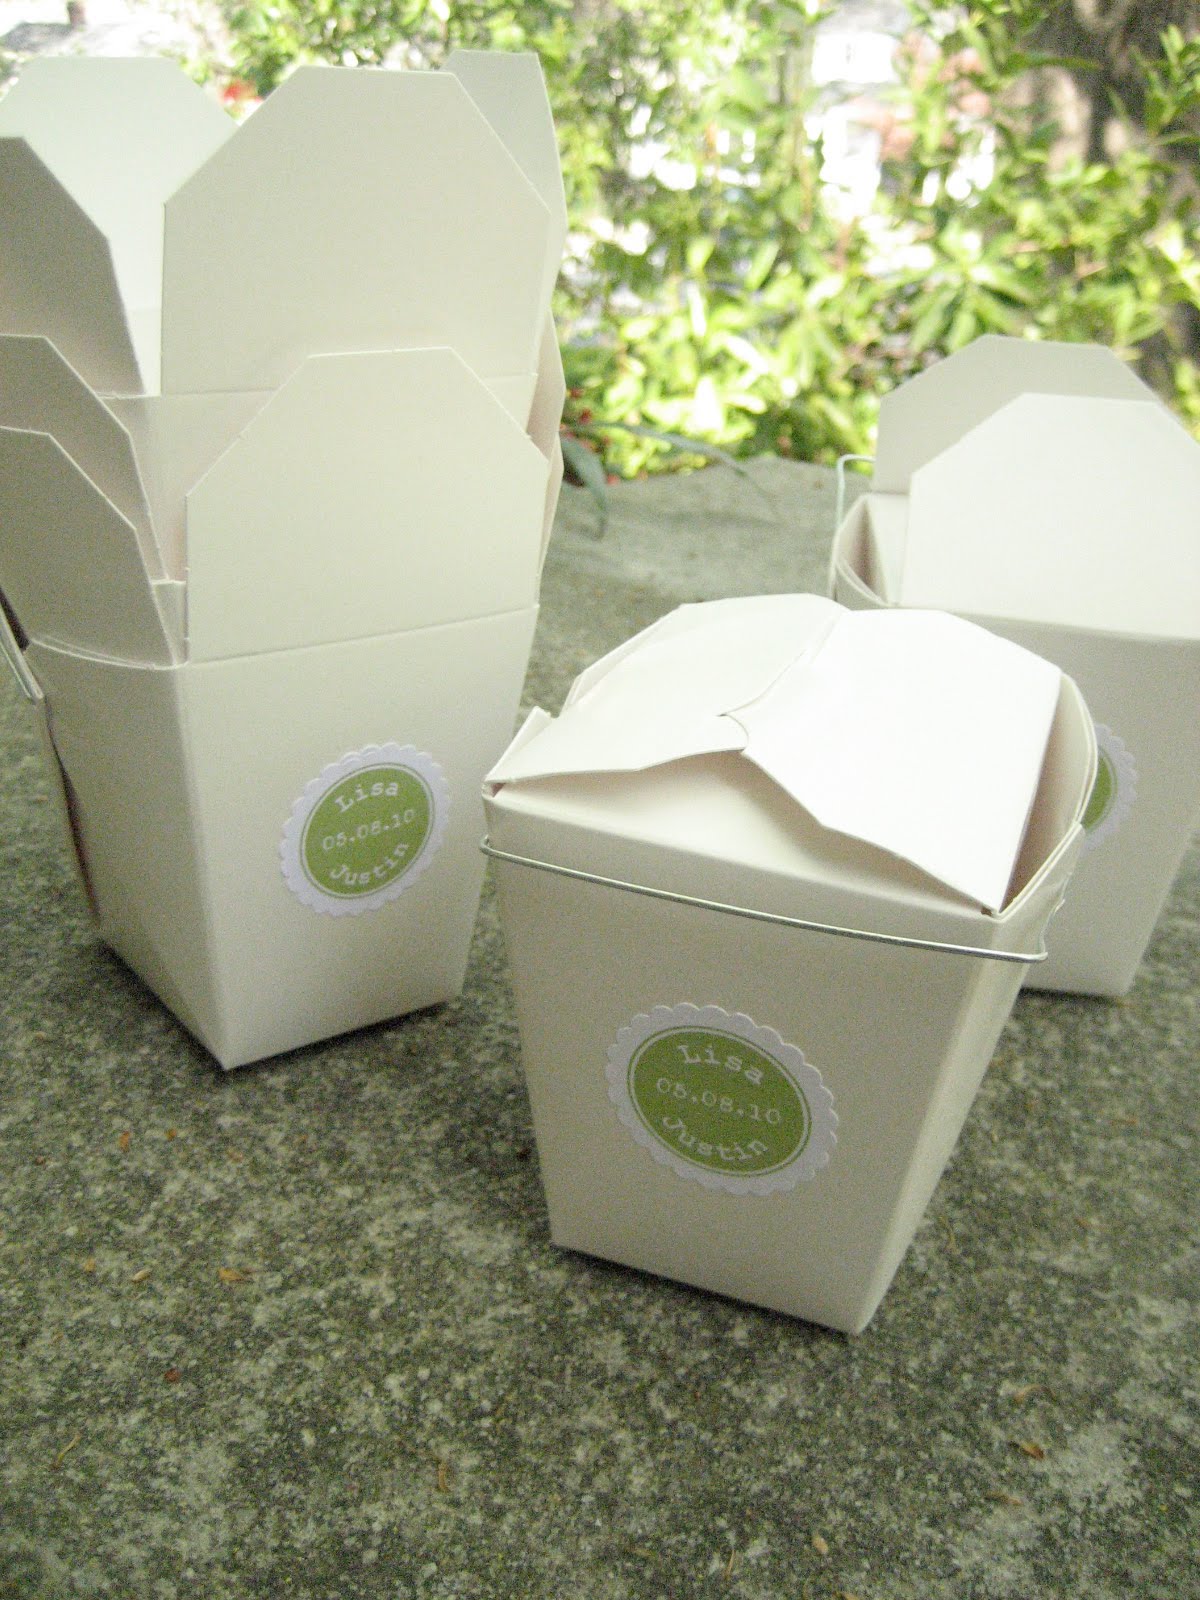
So I promised to post about the cupcake stands that I created for my wedding desserts. And while I was at it, I thought I would also talk about the cute little take out boxes I created for all the cookies I made for my wedding as well. (Being that this blog is about paper and not plates). So, I wanted quite the large dessert table, and instead of just having one large cupcake tier, I decided to make several stands of various heights to put all my little desserts on. The take out boxes were an added touch, so that guests could take home the left overs. I just put our little logo on the boxes (which I printed out on my epson using regular sticker paper) and made the boxes pretty quickly. They turned out to be pretty cute! Oh, and I got the boxes from
uline in case anyone wants to order them. They were very cheap! Here are the boxes:


The cupcake stands were also easy to make. It was just a matter of finding the right plates. I scoured many thrift stores and yard sales for the perfect plates. Low and behold, Ikea had these plates and they were under $8 a piece! I just bought several sizes and colors that coordinated w/ my decor. While I was looking for the plates, I was also keeping my eye out for any kind of "stand" that I could spray paint. The stand part needed to be thicker on the bottom, so the whole piece wouldn't tip over, and I found that vases and candle holders were the best candidates for this job. If you are going to try this yourself, just be sure the candle holders are flush w/ the ground and aren't too curvy on either end. If it is, the plate will be wobbly.


I was going to glue the bases to the plates, but after realizing I had to ship most of this stuff to Savannah, I thought it best to just tape the two pieces together with painters tape. I did a trial run to see if the stand would hold up and they did! So, use tape. It's way easier and less messy than glue and you don't have to wait for anything to dry. Once I taped all the pieces together and turned them over, the stands were complete. Easy Peasy!


So, some of you may be wondering why I'm not posting pics yet from my wedding (since it was last weekend). I'll do that next post. Especially since I want to showcase all of the little paper details of the wedding. I felt like there were a ton, but that's probably because I was working on it for so long! Stay tuned.
-LG

 So the big day came and went. It was a hot, steamy day in May but it was soooo much fun and was such an amazing time that I wish I could get married every month (minus the planning headaches and money issue). Everyone commented on how great the decorations looked and even my wedding planner said she absolutely loved them and thought our ideas were very unique. (Score for Farewell!) So, here are the pics. I have yet to get photos back from my photographer, but he just had a baby boy about two weeks ago, so he's been kinda busy.... Enjoy!
 Set up for the wedding. Green fans and cute, little green puffs.

 The guys before the wedding.
 Me and my dad.

 This is where we had the reception. It's an amazing organic restaurant. If you are in Savannah, GO here!! You won't regret it.
 Set up at Cha Bella.
 Our arrival at the reception.

 Our menu board.

 Our amazing desserts, thanks to tsp. bakery.
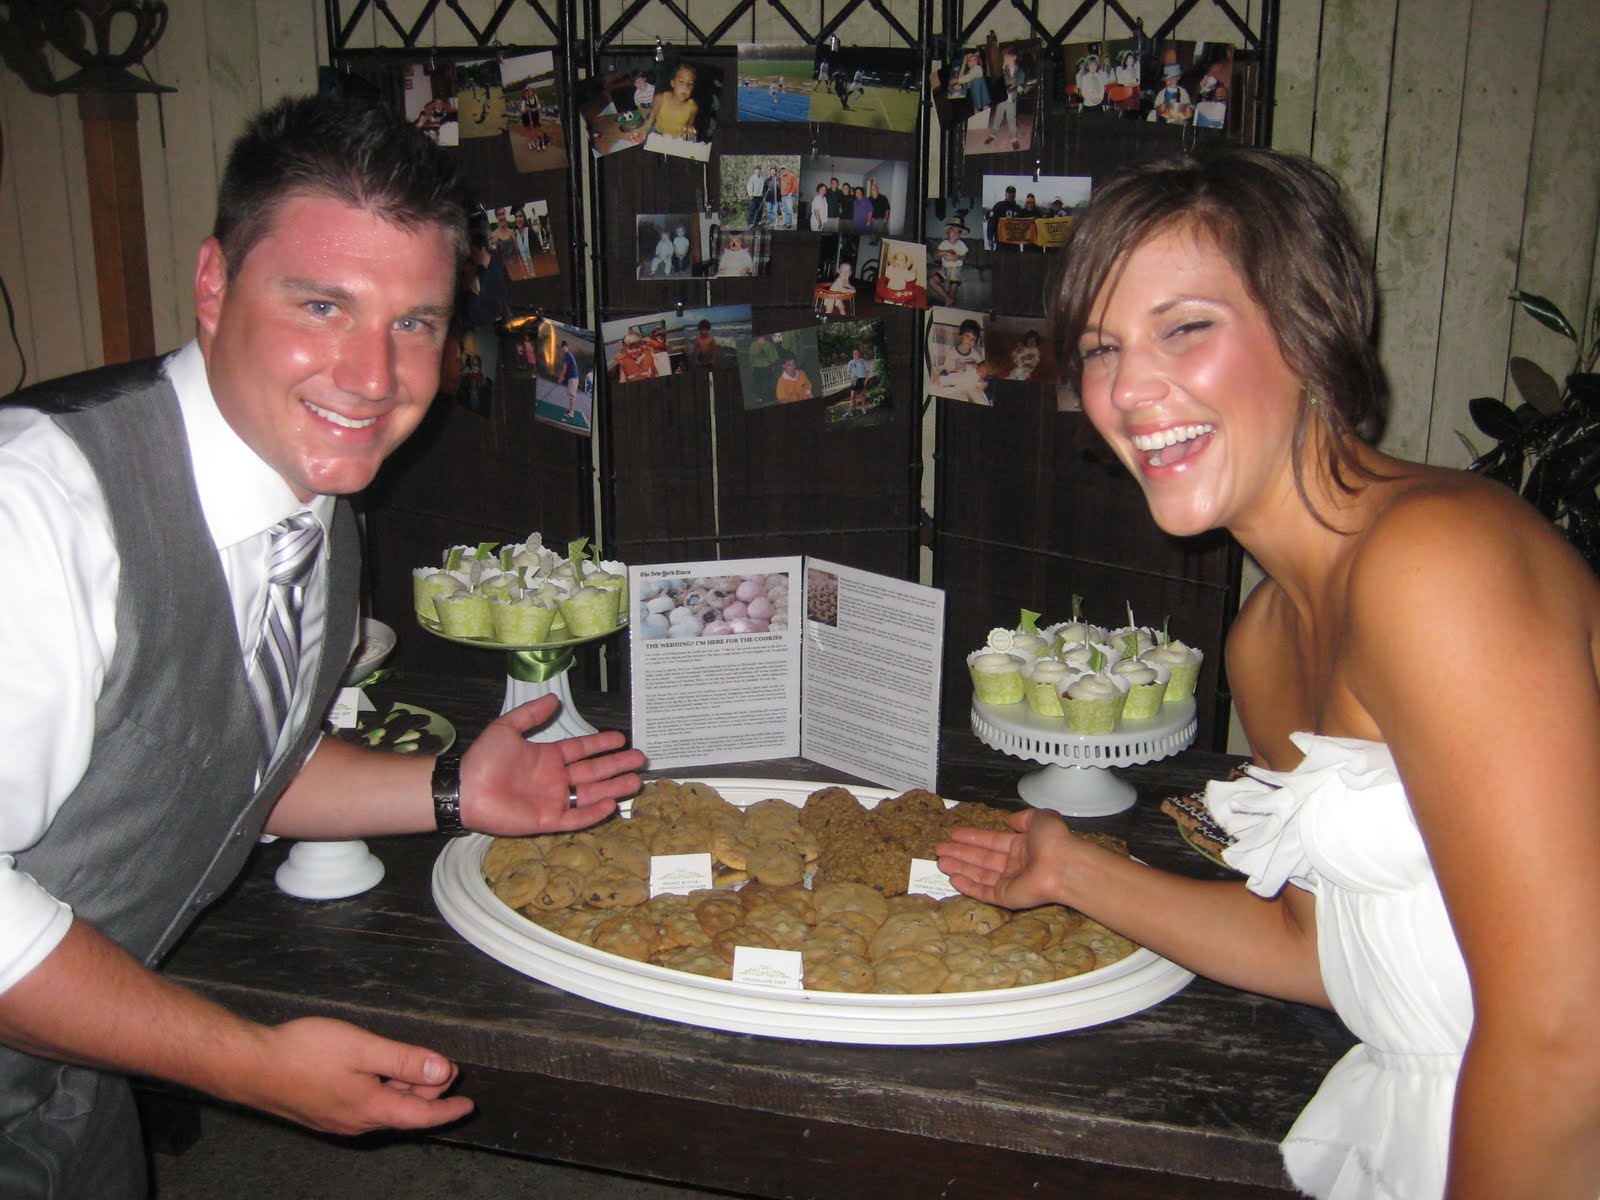


 Paying homage to our dog, Harley, who couldn't be there.
 Finally, all the vintage glass in action!


 More overall decorations.